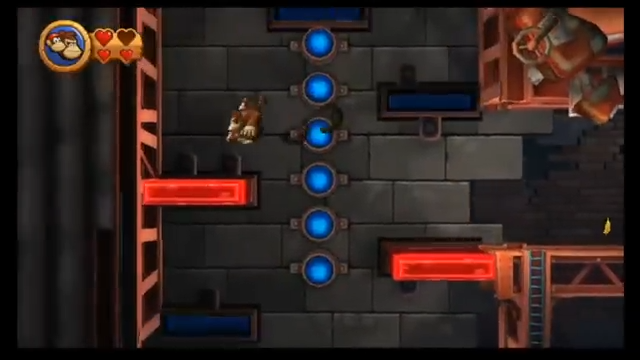
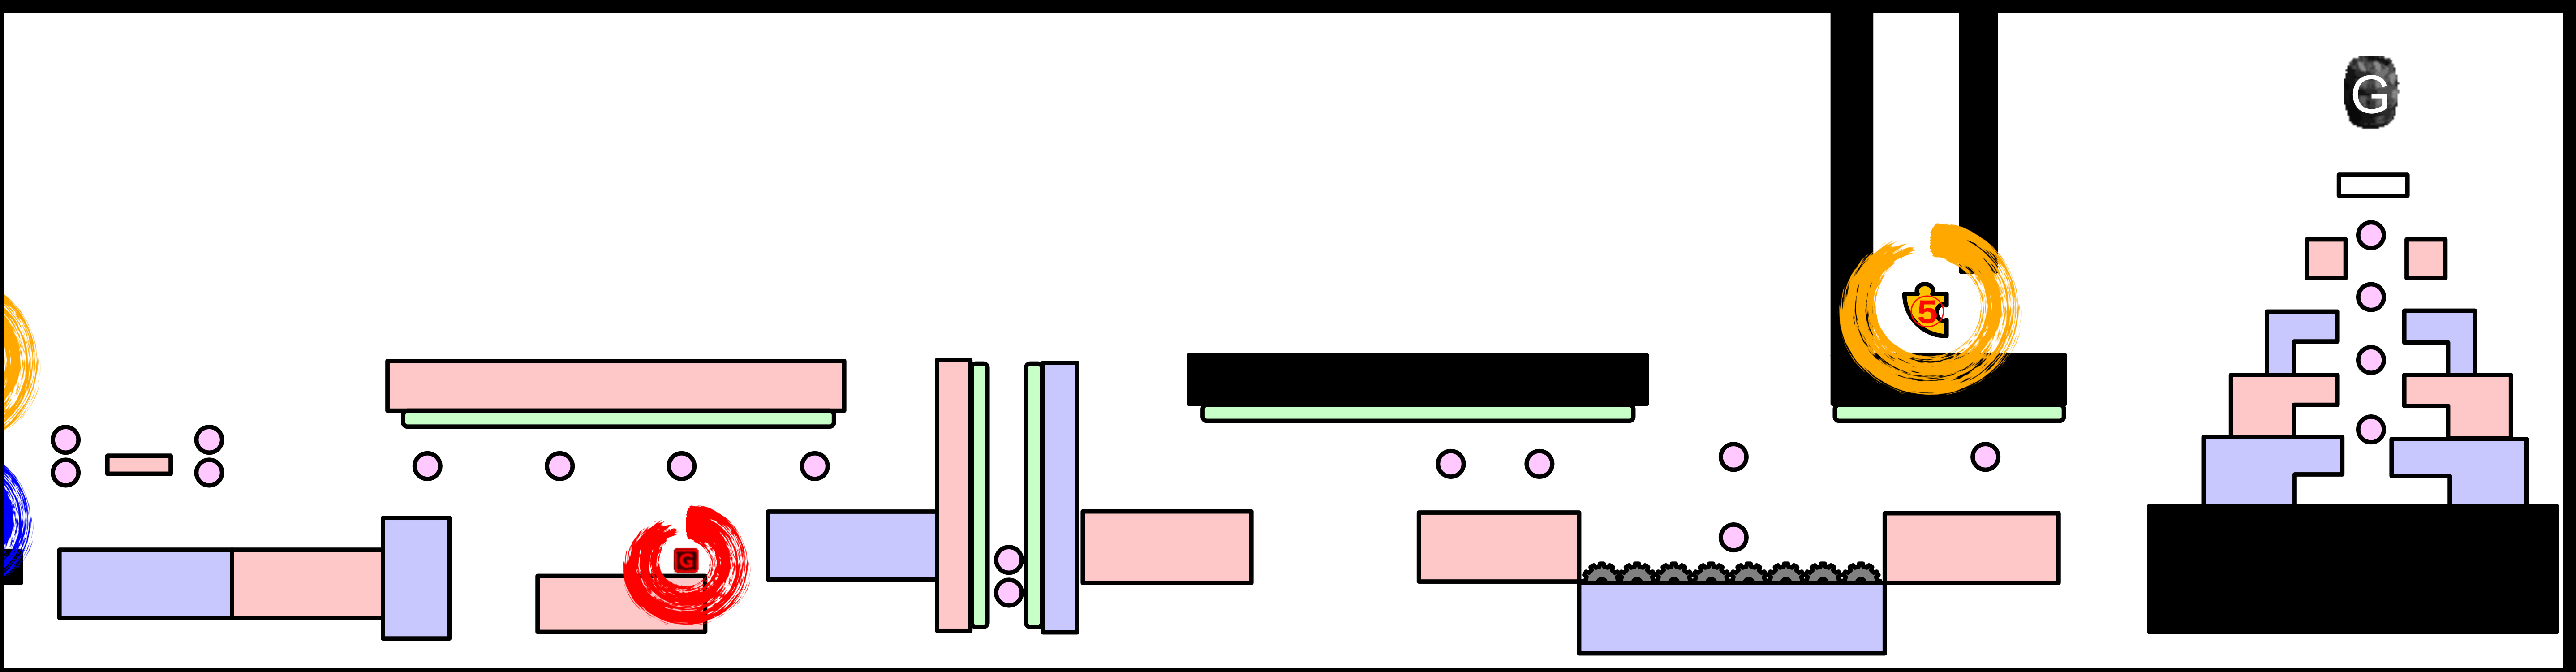
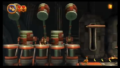
7-6 On/Off Switch
Map
*You can switch to full-screen mode using the square-shaped button in the upper-left corner.
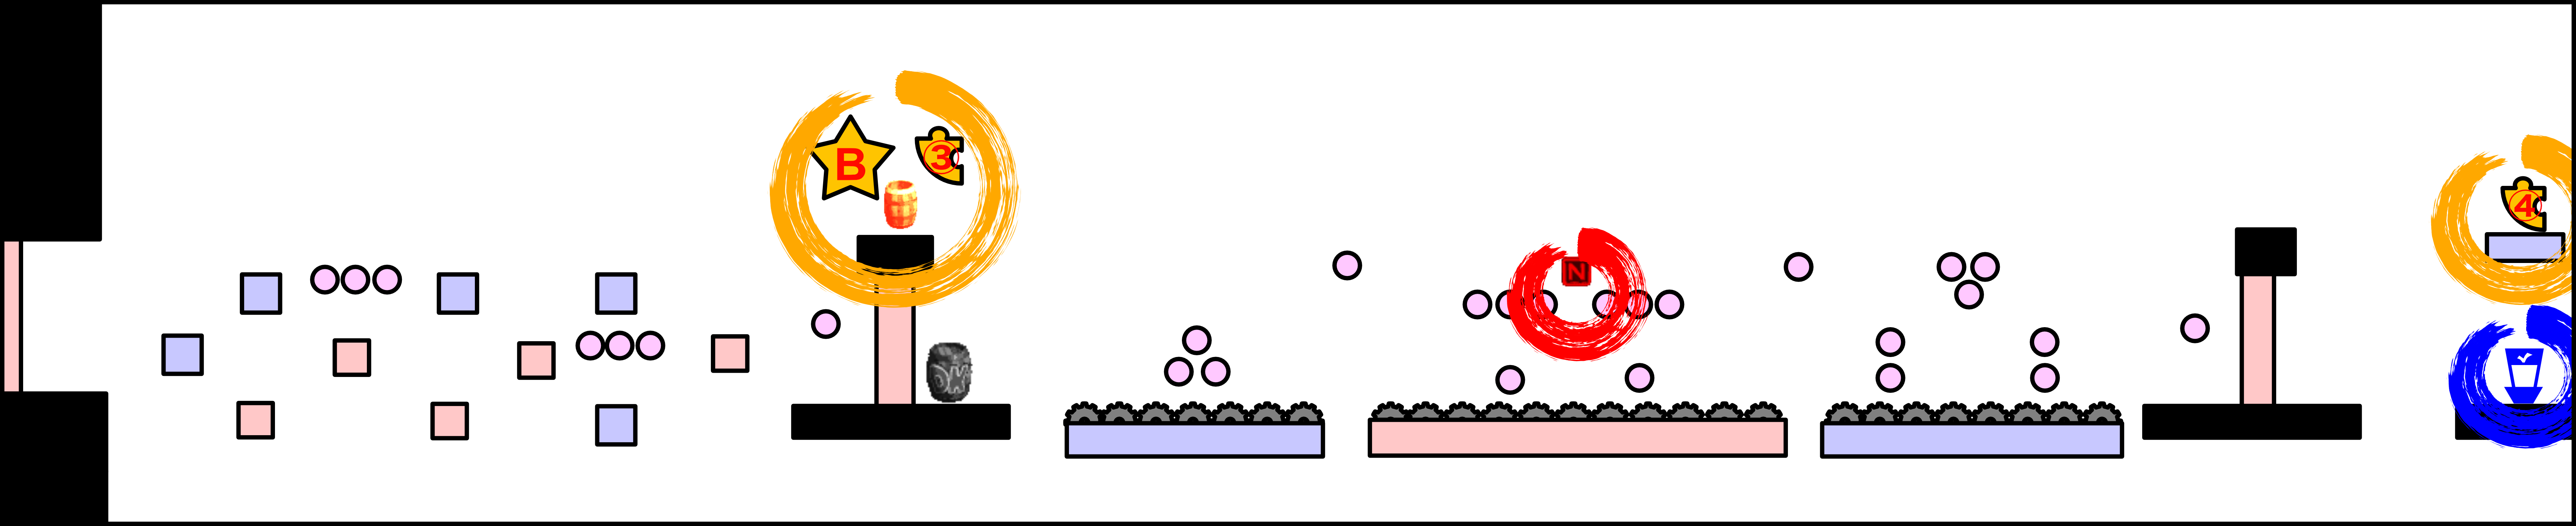
Individual Maps

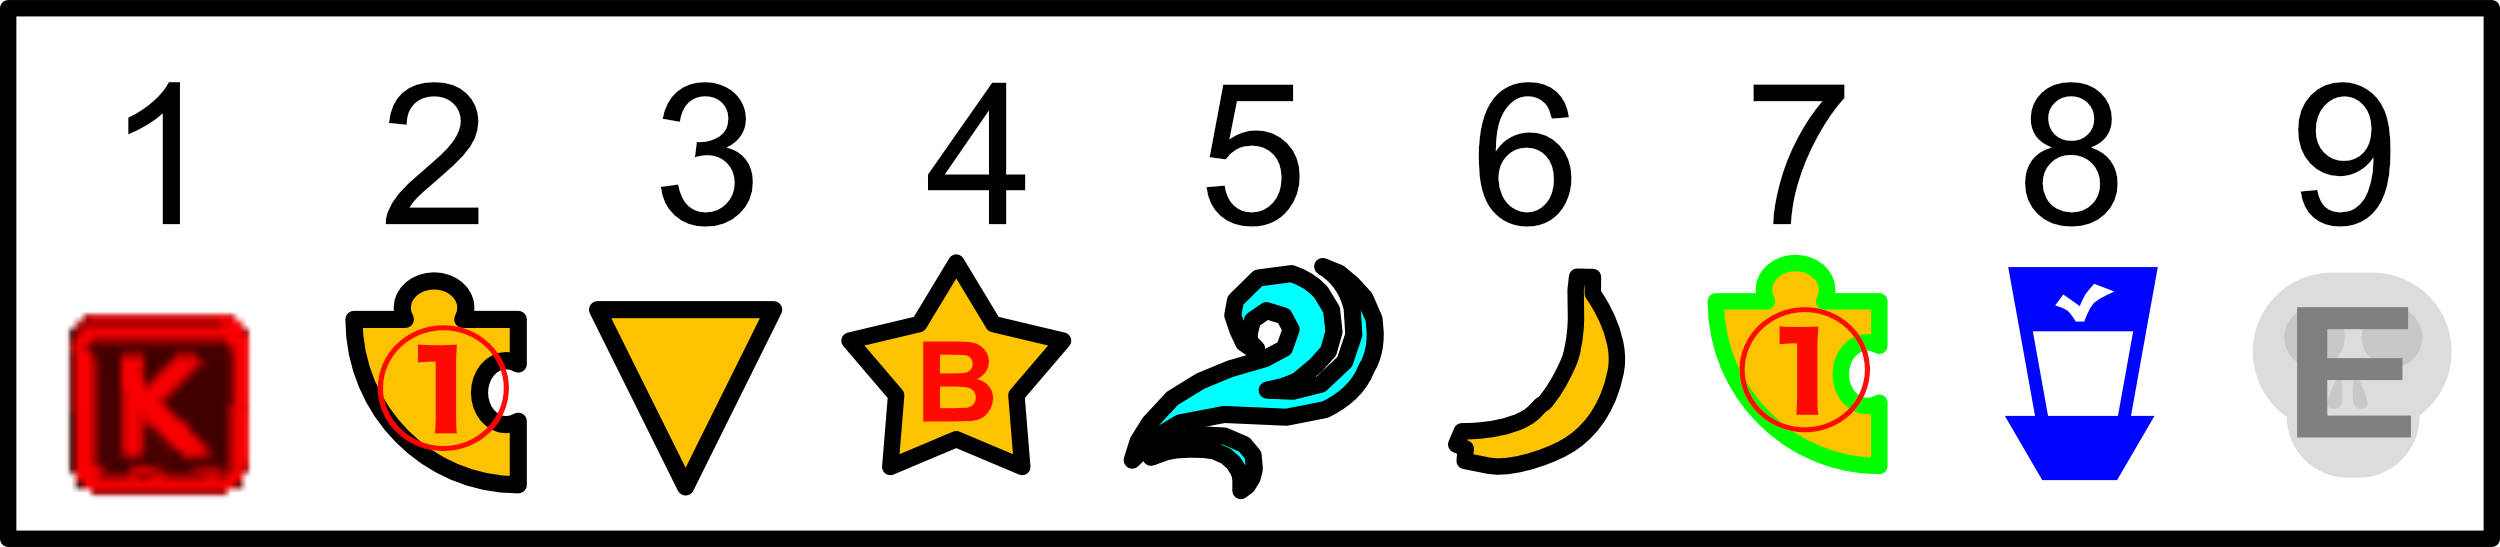
About KONG and Puzzle Pieces
Puzzle Piece 1
Roll-jump left from the platform and roll into the passage leading to the barrel and bonus area.
Check
K
Position yourself to land on the red platform and get K.
Check the video
Hidden Switch
Hit the cracked floor to access the hidden room.
Check the video
O
Located along the path in the vertical climbing area.
Check
Puzzle Piece 2
While the red indicator is active, use Diddy's hover ability to activate the switch without crossing it, then return to the cliff. Use a roll jump to cross over and climb up to the puzzle piece.
Check the video
Checkpoint 1
Puzzle Piece 3
Jump along the blue block above, then use a roll jump to reach the platform with the barrel. You can access the bonus area.
Check
N
Immediately to your right, there are several colored platforms with tires. On the red platforms, you’ll need to make small jumps to avoid the lights. Alternatively, use a high jump and hovering to get the N.
Watch the video
Checkpoint 2
Puzzle Piece 4
From the blue platform at the bottom left of the green chain, perform a roll jump to the left. Cross the switch, land on the red platform, then perform a roll jump from the next switch to the blue platform to the left to reach the puzzle piece.
Check
G
Once you reach the climbable ceiling, descend to the right side of the tire to avoid enemies and get G.
Watch the video
Puzzle Piece 5
While climbing the final red and blue platforms, perform a roll jump to the left from the second blue platform to reach the platform containing the puzzle piece.
Check the video

Comments