
5-1 Harvest Hazards
Map
*You can switch to full-screen mode using the square-shaped button in the top-left corner.
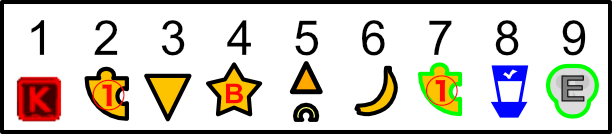
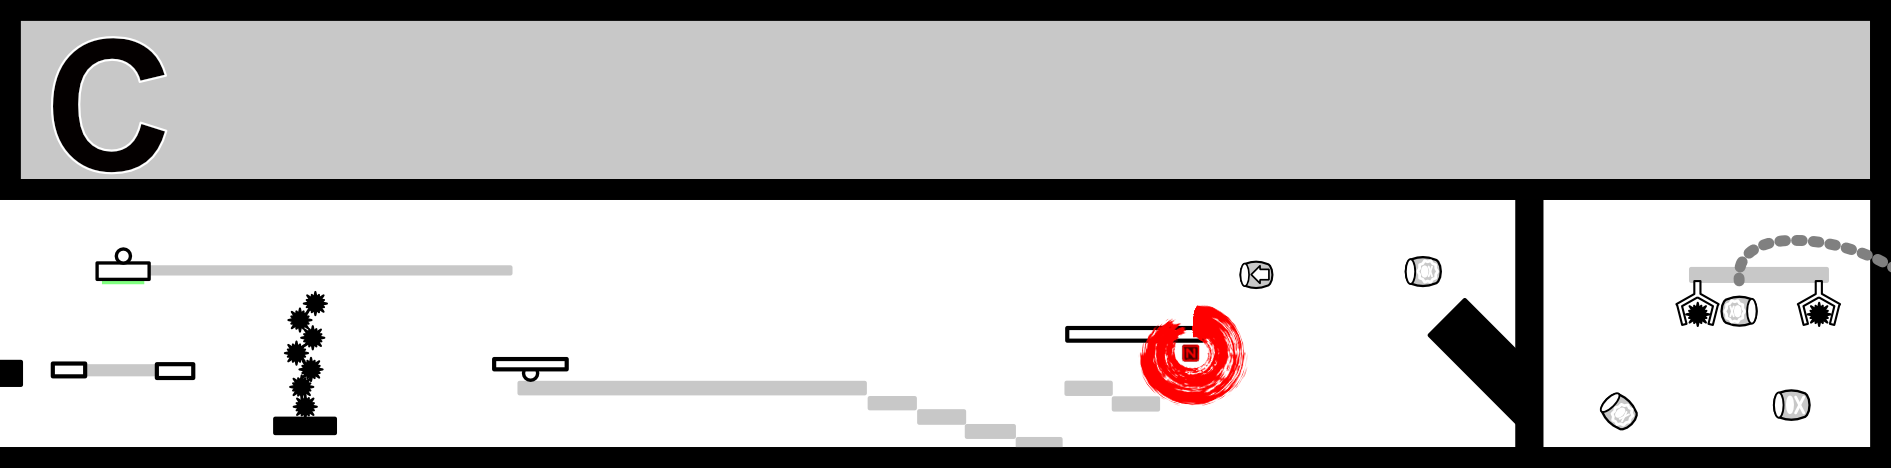
Overview Map

Individual Map


About DK Coins, Bonuses, etc.
Puzzle Piece 1
It appears when you tap the ground in front of the plant above the first DK Barrel.
Check the video
K
Located at the top right of Puzzle Piece 1.
Check
Puzzle Piece 2
In the section where the first set of arms is lined up, watch the last arm for a while and a barrel will appear. Enter it to reach the bonus area.
Check the video
Puzzle Piece 3
There is a lizard carrying a strawberry (Berryzard). It appears after you bounce and collect all the bananas above its head.
Check
Checkpoint 1
O
After passing the first checkpoint, you’ll reach the cart section. It’s under the second cart—use a rolling jump to get it.
Check the video
Puzzle Piece 4
There is a barrel right next to the area with several caterpillars, which leads to the bonus area.
Watch
N
It’s at the edge of the partially collapsing track section. Jump down at the very last moment.
Check
Checkpoint 2
Puzzle Piece 5
Break the wooden crate to the right of Checkpoint 2 to move the Verizard to the left. Use it as a stepping stone to get the puzzle piece. Alternatively, use Dixie’s Helicopter Spin to get it.
Check the video
Puzzle Piece 6
Go past the giant crane and head right; you’ll find a puzzle piece on a rotating platform.
Watch the video
G
It’s located halfway up the conveyor lift.
Check
Puzzle Piece 7
Once you collect all the bananas on the rotating watermelon platform, a puzzle piece will appear.
Check


Comments